Document Management
Check In Documents
A document you check out and edit is not visible to other users in your organization until you check it back in. This feature lets you check in all checked-out documents within the folders or files you select, either as major or minor versions, in a single operation.
- Navigate to Management > Document Management > Check In Documents.
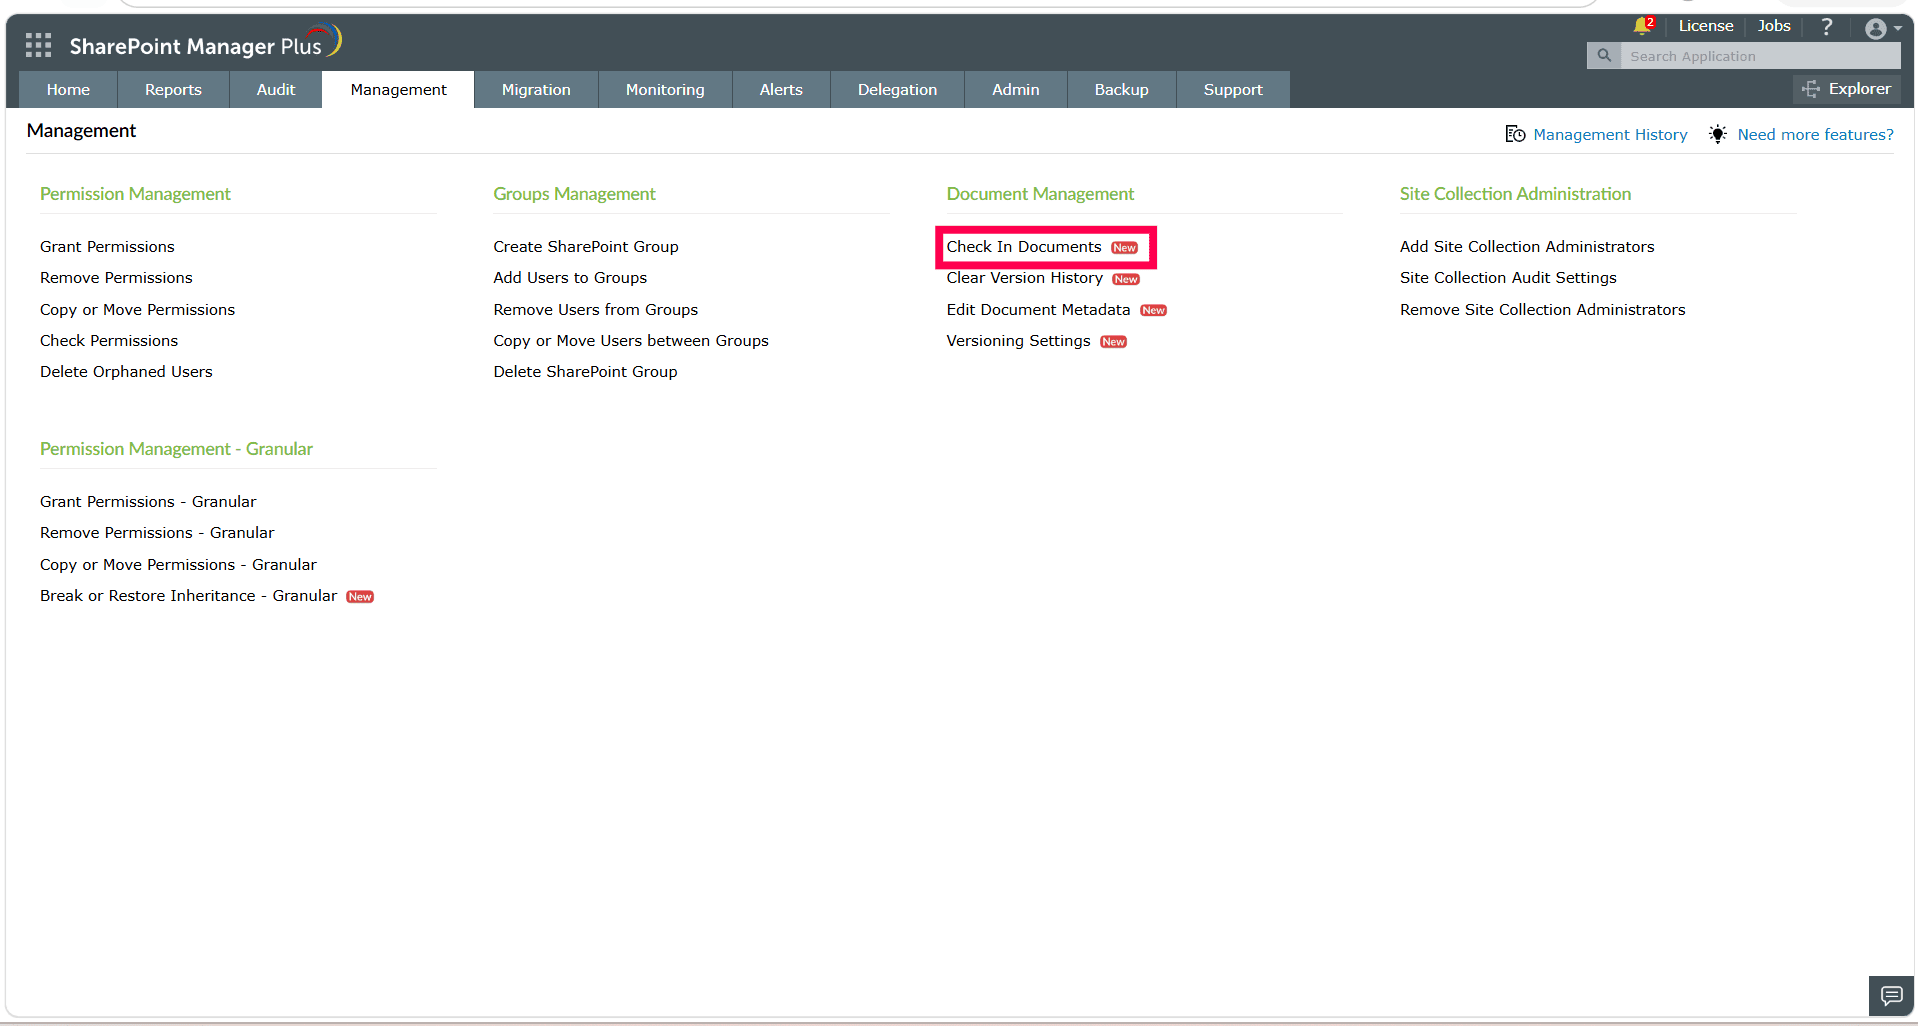
- In the Select Farm/Tenant drop-down, choose the farm or tenant that holds the documents you want to check in.
- For Select Folder or Files, click the + button and pick the folders or specific files containing the checked-out documents.
- In the Task Name field, enter the task name.
- Select Description to add a description for the task.
- In Check-In Comment, enter the reason for checking in the documents.
- For Check-In Type, choose one:
- Major: Checks in each document as a new major version (e.g., 1.0, 2.0). Use for finalized, publishable changes.
- Minor: Checks in each document as a new minor version (e.g., 1.1, 1.2). Use for draft or work-in-progress changes.
- Click Apply to run the operation.
Clear Version History
This feature frees up storage by clearing the version history of files at the site, list, or document level. You can clear all versions, clear only minor versions, retain the last N versions, or delete versions older than a set number of days.
- Navigate to Management > Document Management > Clear Version History.
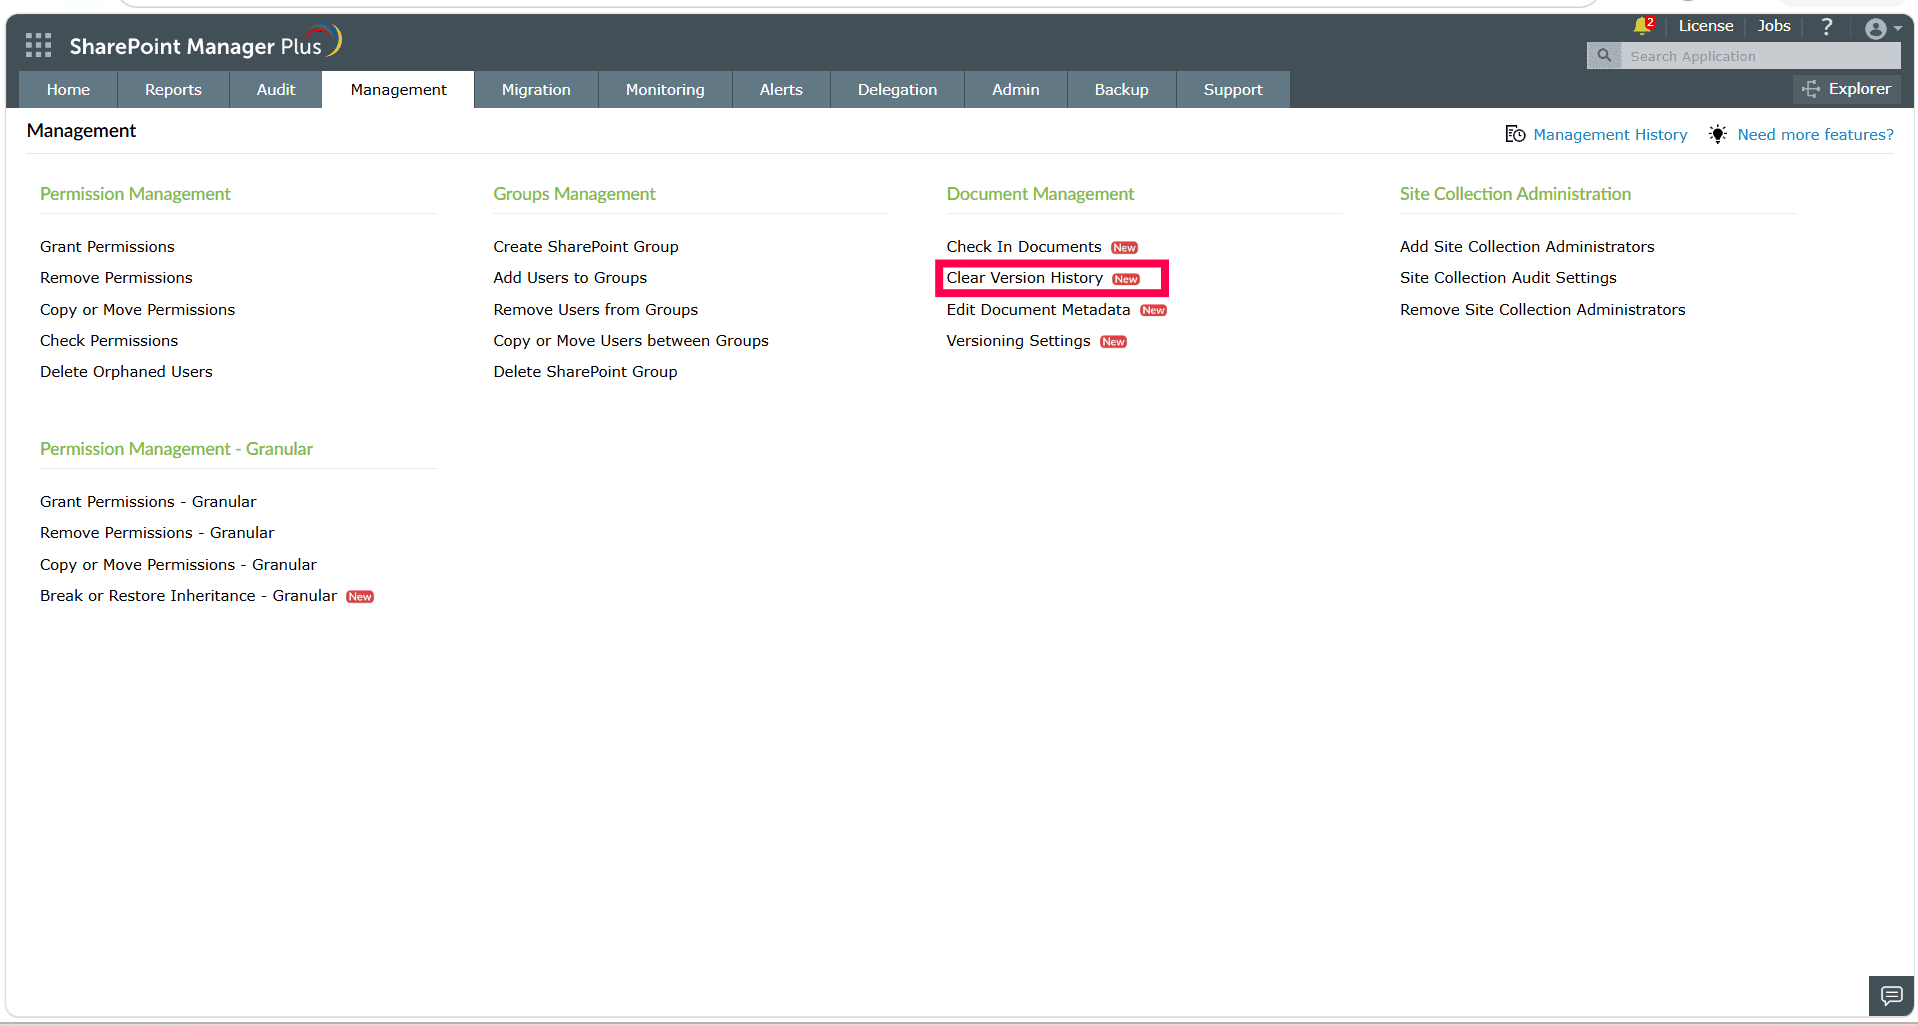
- In the Select Farm/Tenant drop-down, choose the farm or tenant you want to work with.
- For Select Object, click the + button and choose the required sites, lists, or documents.
- In the Task Name field, enter a name to identify this management task.
- Select Description to add a description for the task.
- Under Versioning Settings, choose the Select Version option that matches your cleanup goal:
- All versions: Clears every version of each file except the current one.
- All minor versions: Removes minor (draft) versions and keeps only the major versions.
- Retain the last N versions: Retains the most recent N versions of each file and clears the rest.
- Delete versions older than N days: Clears any version older than the number of days you set.
- Under Schedule Settings, configure how the task runs:
- Operation Mode: Choose Run Now to run the task immediately, or Schedule to run it at a set time or recurring interval.
- Email Notification: Check the box and enter a recipient email addresses (comma-separated) to receive a summary when the task completes. The summary covers files scanned, storage reclaimed, and time taken. If the mail server isn't set up yet, use the Configure Now link to configure it first.
- Click Apply to run the operation.
Note:
- Task execution and email notification: When the task completes, details such as files scanned, storage reclaimed, and time taken are captured and can be emailed to the configured recipients.
- Scheduling: The Clear Version History task can be scheduled to run at recurring intervals, keeping storage usage in check automatically.
Edit Document Metadata
This feature lets you update the metadata (column values) of items in a selected list or document library.
- Navigate to Management > Document Management > Edit Document Metadata.
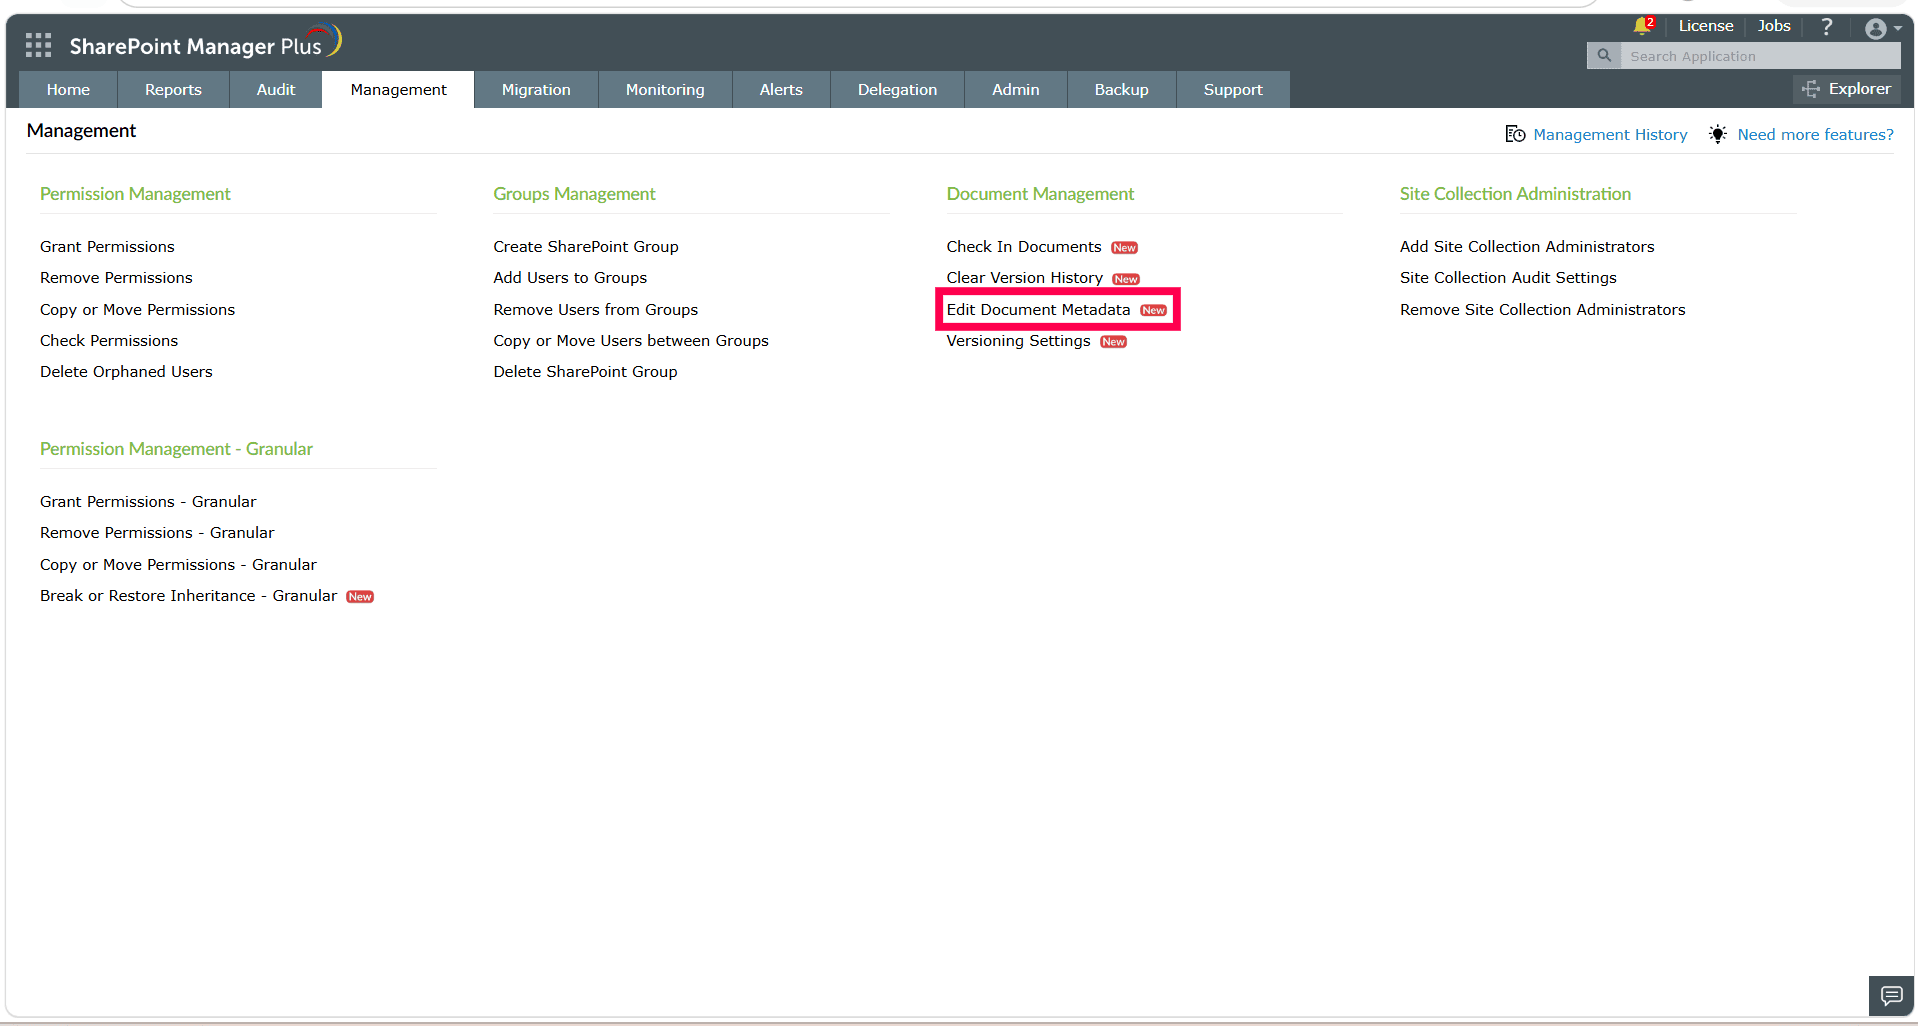
- In the Select Farm/Tenant drop-down, choose the farm or tenant you want to work with.
- For Select Sites, click the + button and choose the required site(s).
- In the Task Name field, enter a name to identify this management task.
- Select Description to add a description for the task.
- In the Select List/Document Library drop-down, choose the list or document library whose items you want to update.
- Next to Metadata, click Edit Metadata to open the Set Column Metadata panel, then configure the values for each column you want to update. To update metadata in bulk, use Download Sample File, Export, and Import to work with the values as a CSV.
- In the Select Folder or Files, click the + button and choose the items you want to update.
- Click Apply to run the operation.
Configure Versioning Settings
The Versioning Settings feature lets you configure document versioning for selected sites or lists on a SharePoint farm or tenant, and apply it as a task that runs immediately or on a schedule. You can control whether versions are created when files are edited, how long and how many versions are retained, who can view draft items, and whether content approval or check-out is required before edits are published.
To configure versioning settings:
- Navigate to Management > Document Management > Versioning Settings.
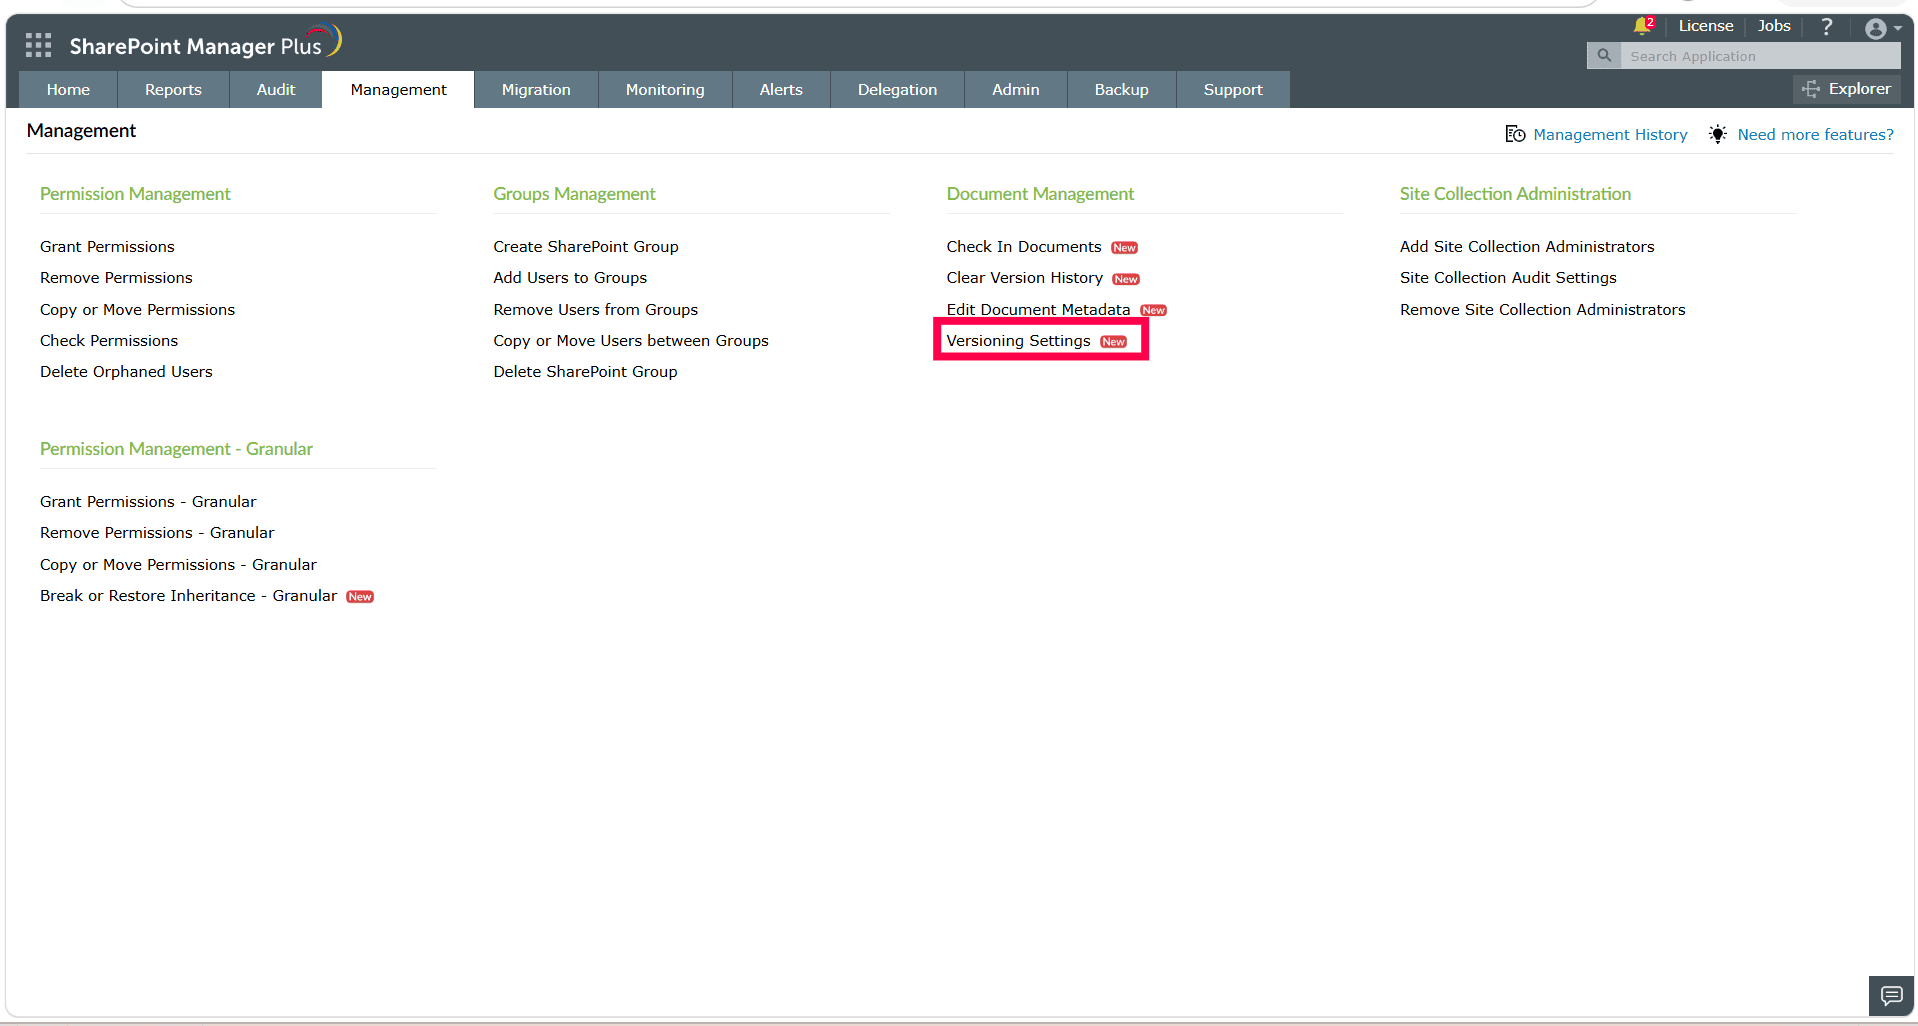
- From the Select Farm/Tenant drop-down, select the required SharePoint farm or tenant.
- In the Select Sites or Lists field, click the + button and choose the required sites or lists.
- Under Version Management and Retention, configure the following:
- In the Task Name field, enter a name to identify this management task.
- Select Description to add a description for the task.
- Document Version History: Creates and retains a new version whenever a user edits a file in a document library.
Select one of the following options:
- No Versioning: Does not retain document versions.
- Create major versions: Creates and retains only major versions. For example, 1, 2, 3, and 4.
- Create major and minor (draft) versions: Creates and retains both major and minor versions. For example, 1.0, 1.1, 1.2, and 2.0.
- Version Time Limit: Specifies how long file versions are retained.
Note This option is not available in on-premises SharePoint Server.
Select one of the following options:
- No time limit: Retains versions without applying an age limit.
- Automatic: Automatically deletes versions based on file activity and age.
- Manual: Deletes versions older than the number of days you specify.
- Version Count Limit: Specifies the maximum number of major versions to retain.
Note This option is not available in on-premises SharePoint Server 2013.
- Specify the maximum number of major versions to retain in the field above Keep the following number of major versions.
- To retain draft versions, select Keep drafts for the following number of major versions and specify the number of major versions for which drafts must be retained.
- Under Content Visibility and Control, configure settings that determine when content becomes visible, who can view drafts, and whether documents must be checked out before editing. Configure the following settings:
- Under Schedule Settings, configure when the task should run and whether email notifications should be sent after it is completed. Configure the following settings:
- Operation Mode: Select Run Now to apply the configured settings immediately, or Schedule to run the task at a specified time.
- If you select Schedule, configure the following:
- From the frequency drop-down, select how often the task should run: Run Once, Hourly, Daily, Weekly, or Monthly.
- For Starting Date, select the date on which the task should run for the first time.
- In the at fields, select the hour, minute, and AM/PM for the run time.
- Email Notification: To receive an email notification after the task is completed, check the box and enter the recipient email addresses, separated by commas. The mail server must be configured to send notifications. If it is not configured, click Configure Now.
- Click Apply.
 ADManager Plus
 ADAudit Plus
 ADSelfService Plus
 SharePoint Manager Plus
 Previous Topic